Before you install the Google Tag Manager container, you will require your container scripts. If you don't have a Google Tag Manager container, check our How to create a new Google Tag Manager container guide. If you already have a Google Tag Manager container, check our Where to find Google Tag Manager container scripts guide.
Once you have your Google Tag Manager container scripts: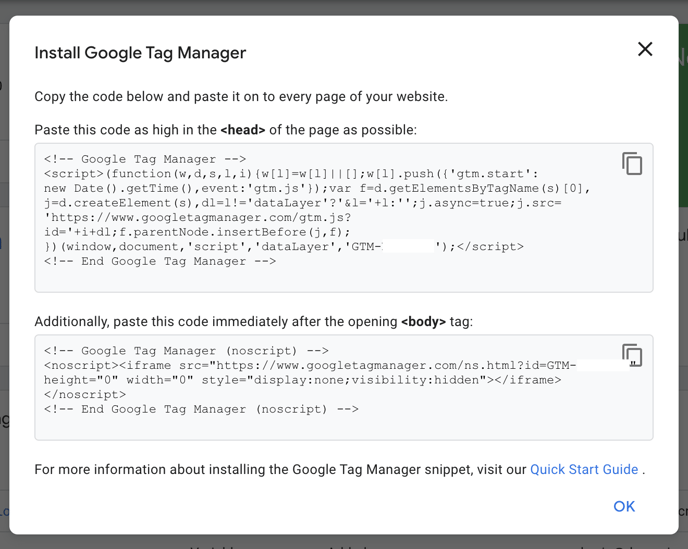
The best way to install and ensure the Google Tag Manager container is configured to trigger on each website page accurately is by adding the scripts directly to the default store view.
- Log in to your Magento 2 admin panel.
- In the left-hand menu, go to Admin Panel > Content > Configuration.
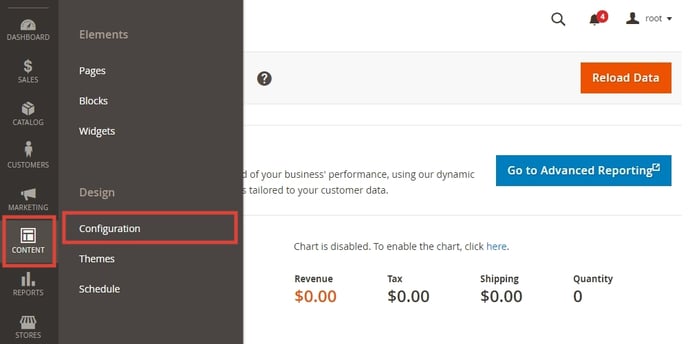
- Choose the Store View you want to paste the Google Tag Manager container scripts to OR select Global to add it on every Store View and click Edit.

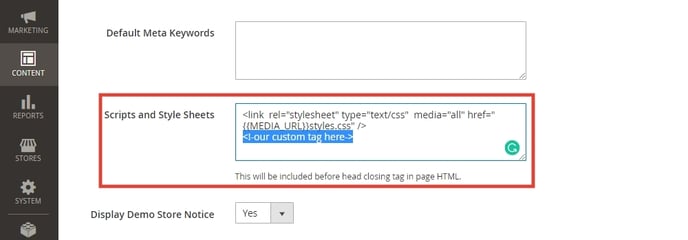
- Go to the HTML Head > Scripts & Style Sheets section and paste the Google Tag Manager <head> script as the last tag.
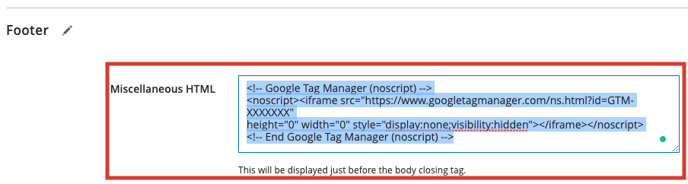
- Go to the Footer > Miscellaneous HTML section and paste the Google Tag Manager <body> script as the first tag.
- After pasting the scripts, don't forget to click Save Configuration.

- Now you want to Clear Magento 2 Cache. Go to Admin Panel > System > Cache Management.
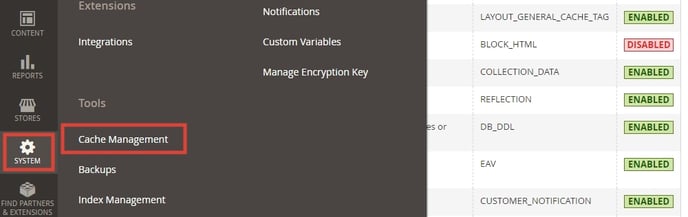
- Click Flush Magento Cache. Once the cache has been flushed you will see the success message.

For more information, please visit - Add GTM Code to your Adobe Commerce Store
You have now successfully installed your Google Tag Manager container on your website. To implement Conversion Tracking & Dynamic Remarketing, check our Conversion Tracking and Dynamic Remarketing Tag instructions for Magento 2.X guide.