Before you install the Google Tag Manager container, you will require your container scripts. If you don't have a Google Tag Manager container, check our How to create a new Google Tag Manager container guide. If you already have a Google Tag Manager container, check our Where to find Google Tag Manager container scripts guide.
Once you have your Google Tag Manager container scripts: 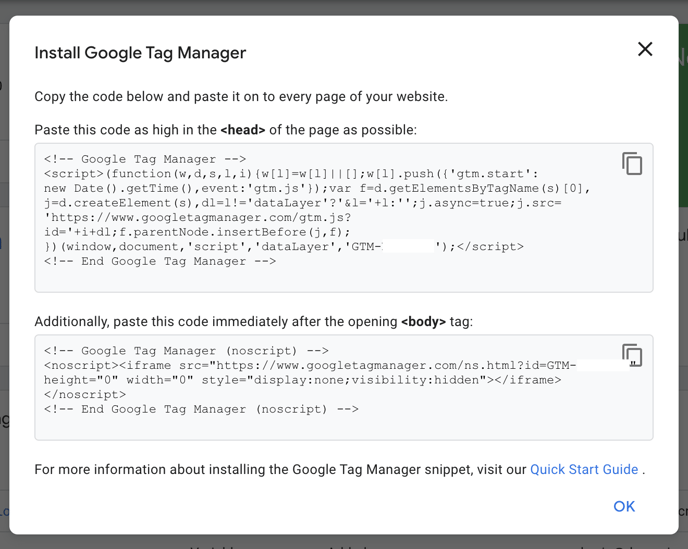
The best way to install and ensure the Google Tag Manager container is configured to trigger on each website page accurately is by adding the scripts directly into the template files.
- Log in to your Shopify admin panel.
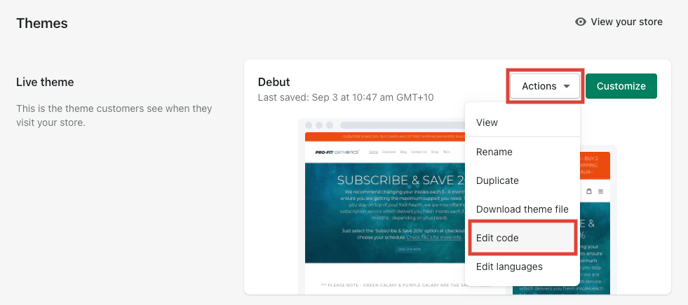
- In the left-hand menu, go to SALES CHANNELS > Online Store > Themes, then on your live theme, click Actions and select Edit Code.
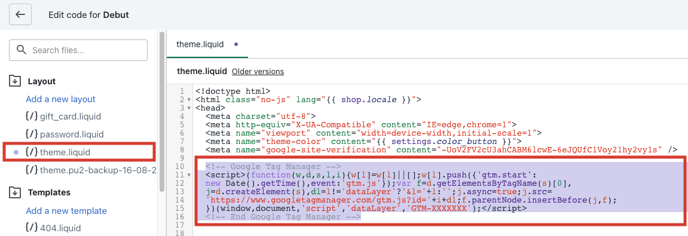
- Within Edit code, go to Layout > theme.liquid and paste the Google Tag Manager <head> script within the <head></head> tags, as high as possible.
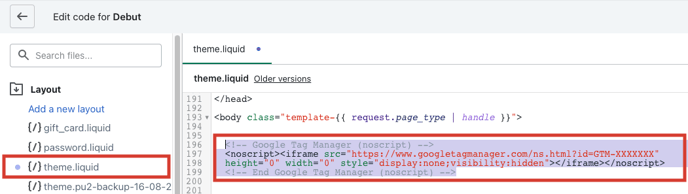
- Within the same file, paste the Google Tag Manager <body> script within the <body></body> tags, immediately after the opening <body> tag.
- If you are a Shopify Plus merchant, you want to repeat steps 3 & 4 for Layout > checkout.liquid file.
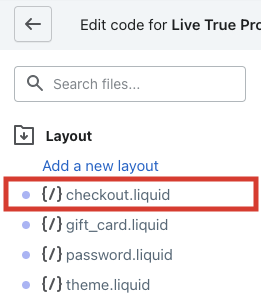
The checkout.liquid layout/file is available to Shopify Plus merchants only. For more information, please visit the checkout.liquid
You have now successfully installed your Google Tag Manager container on your website. To implement Conversion Tracking & Dynamic Remarketing, check our Conversion Tracking and Dynamic Remarketing Tag instructions for Shopify guide.