For adding Google Tag Manager container to WooCommerce we recommend using the “Google Tag Manager for WordPress” plugin, available for free here.
- You will first need to import the FeedOps Google Tag Manager container on your website.
- Download the plugin by clicking the download button in the top right corner of the page
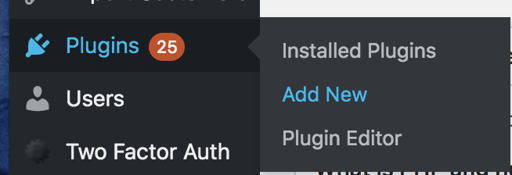
- Login to your Wordpress backend and from the left hand menu select “Add New” from the plugins option.
- In the top of the page click “Upload Plugin”

Then click “Choose File” and select the .zip file you downloaded in step 1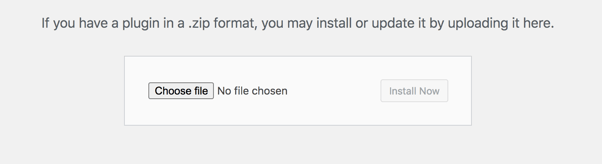
Then click “Install Now” and follow the step until the plugin is installed - Once the plugin has installed, find it in the “Installed Plugins” page and click “Settings”

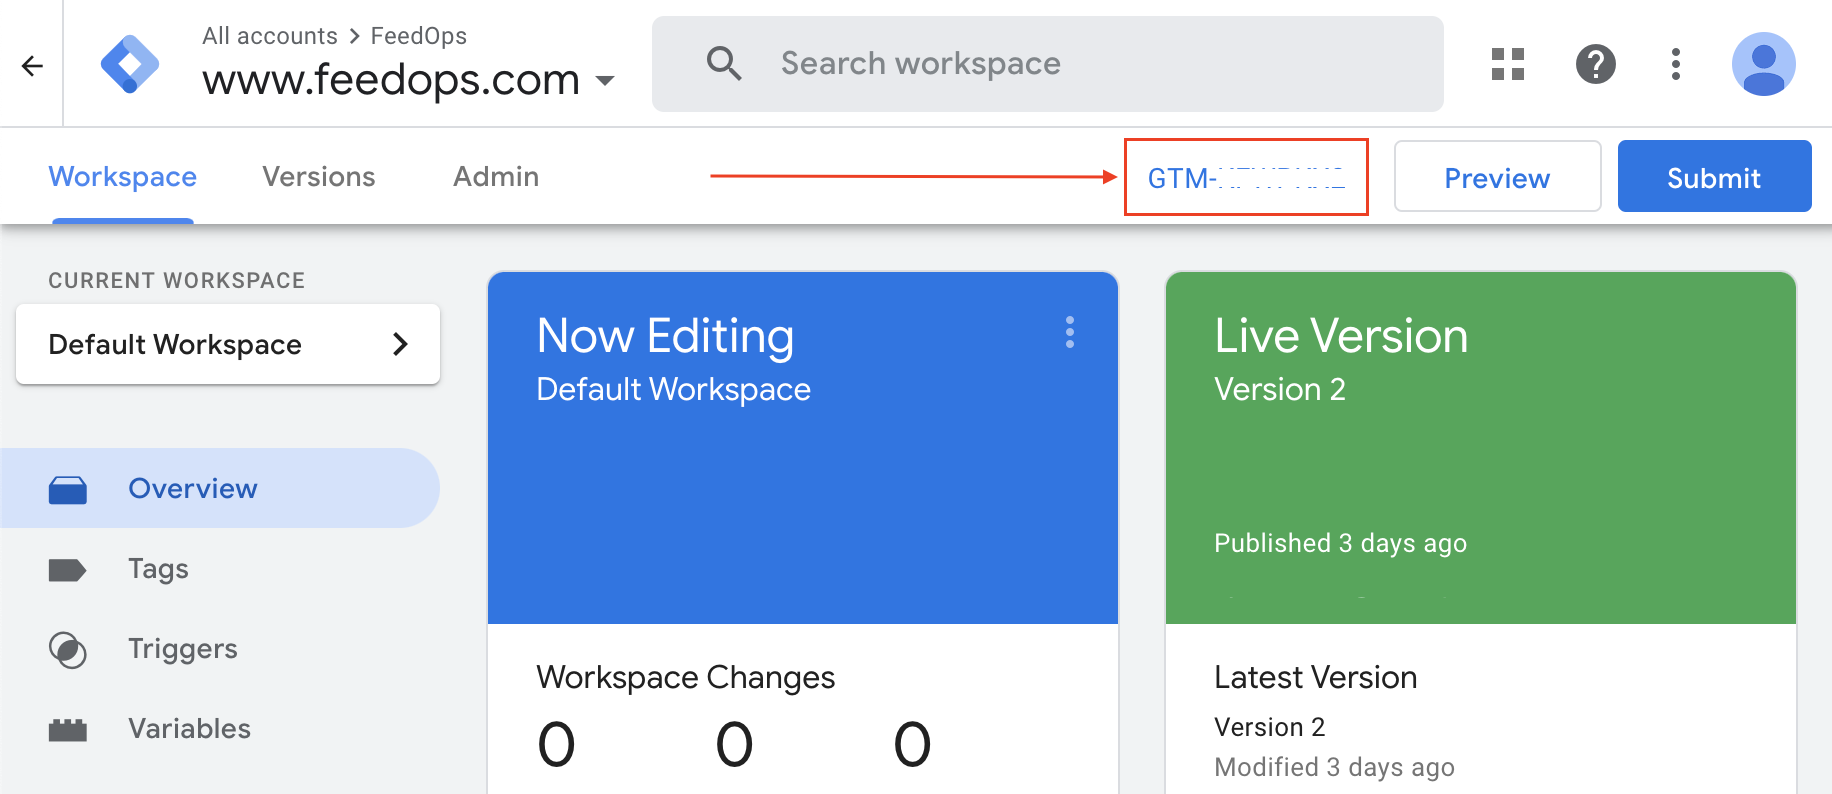
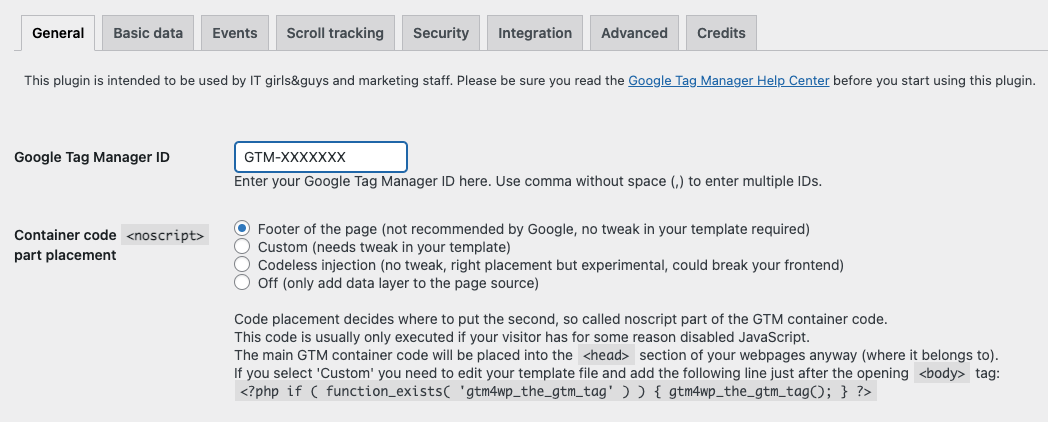
- Get the “Google Tag Manager ID” from the Google Tag Manager container.
- Enter your “Google Tag Manager ID” and select Footer option as the "Container code part placement" as shown below.
- Next navigate to the Integration tab and select WooCommerce, ensure the "Track enhanced e-commerce", "Order data in data layer" and "Use SKU instead of ID" options are enabled.
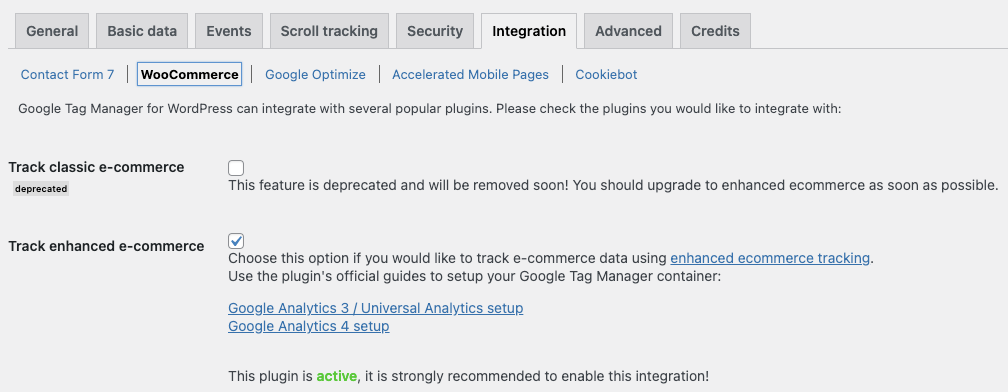


- Click on "Save Changes".
- To verify that your dynamic remarketing and conversion tracking works, you can follow the below guides:
https://kb.feedops.com/knowledge/test-dynamic-remarketing-events
https://kb.feedops.com/knowledge/conversion-tracking-test-transaction