If you don't know where the setting is to Verify & Claim your website in Google Merchant Center, check our Where to find the setting to Verify & Claim your website in Google Merchant Center account guide.
The best way to verify & claim your website in Google Merchant Center is to add an HTML tag to your website.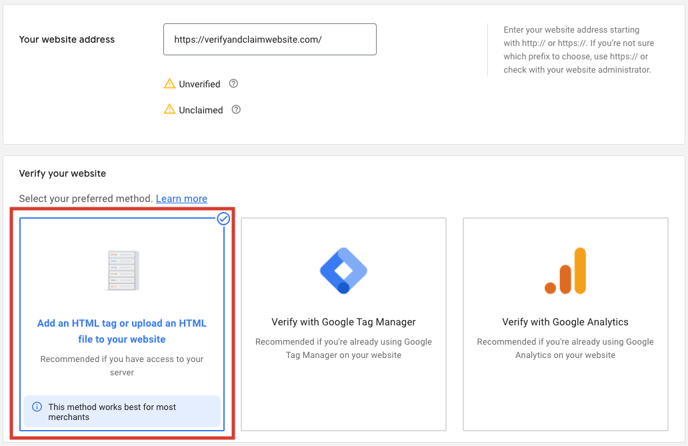
After selecting the Add an HTML tag or upload an HTML file to your website option, you will see steps to add the HTML tag. Copy the HTML tag.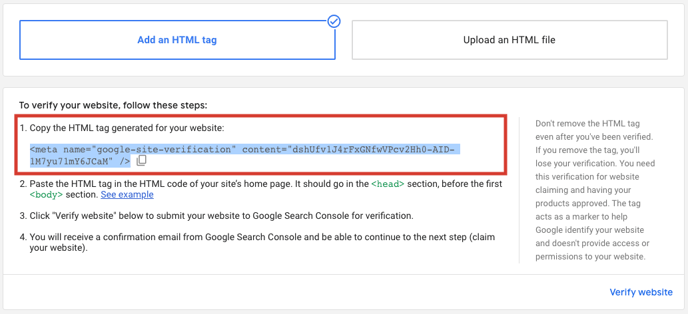
The following steps will help you add the copied HTML tag to your Magento 2 store.
- Log in to your Magento 2 admin panel.
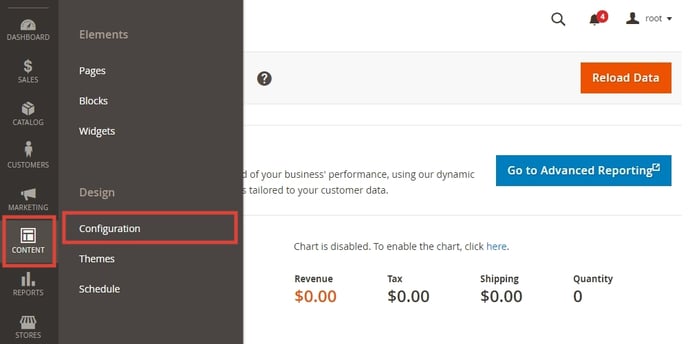
- In the left-hand menu, go to Admin Panel > Content > Configuration.
- Choose the Store View you want to paste the HTML tag to OR select Global to change it on every Store View and click Edit.

- Go to the HTML Head > Scripts & Style Sheets section and paste the copied HTML tag as the first tag.
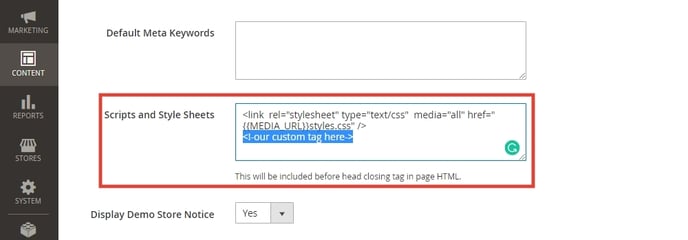
- After pasting the HTML tag, don't forget to click Save Configuration.

- Now you want to Clear Magento 2 Cache. Go to Admin Panel > System > Cache Management.
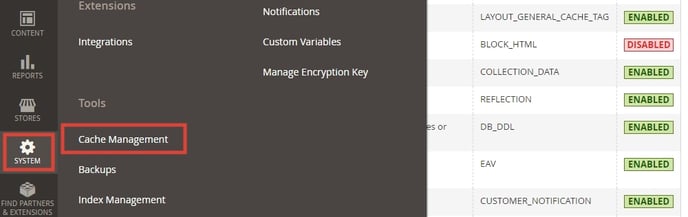
- Click Flush Magento Cache. Once the cache has been flushed you will see the success message.

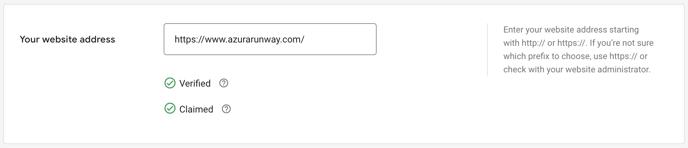
Now, all that is left is to Verify & Claim your website in Google Merchant Center. Go back to Google Merchant Center and click Verify website.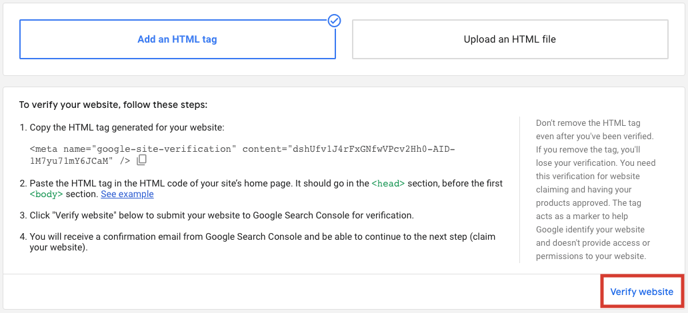
Once verified, you will need to CLAIM URL.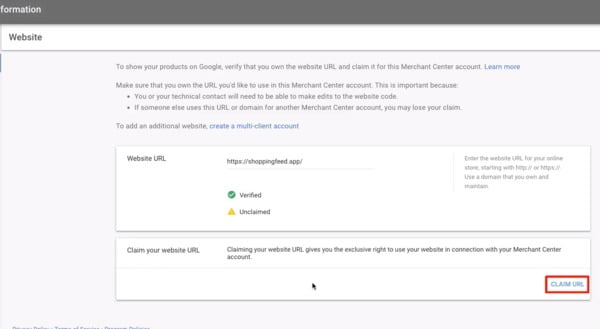
You have now successfully verified & claimed your website in Google Merchant Center.